Rate cards, when used with Timesheets, enable project costs to be recorded against actual time worked. Rate cards can be set-up in one of two ways:
- At a global level for all users based on a specific project role
- At a project level based on a specific user. Users can have different rates across different projects.
Global Rate Cards
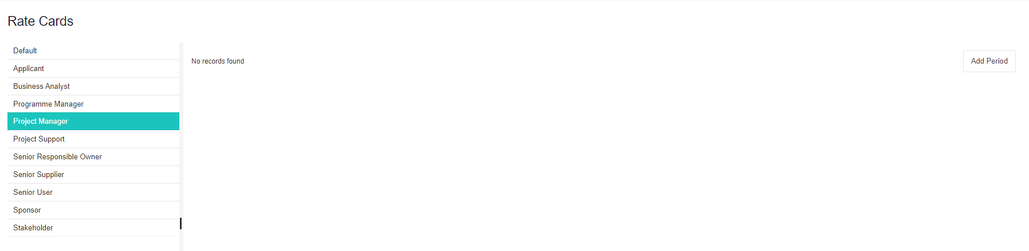
To set-up rate cards at a global level, click on the Administration Cog > Rate Cards. From here either set a single rate for all resourcing or timesheet users using the Default role, or alternatively assign different rates for each project role. Any role without a rate assigned to it will use the default rate.
To add a new global rate, select a role from the list and then click on the 'Add Period' button on the right-hand side (button will only display when adding a rate to a role for the first time).
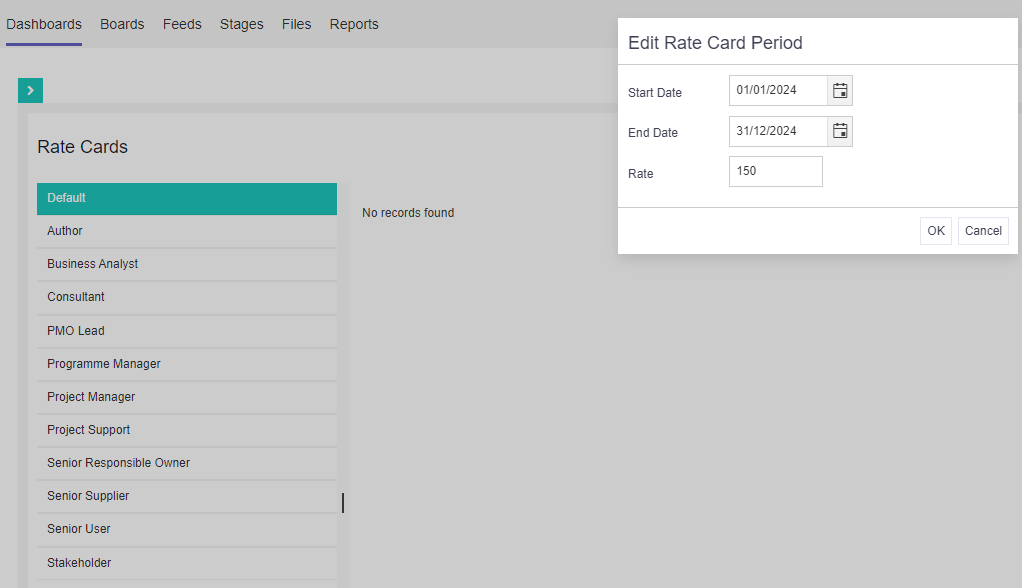
A pop-up will appear. Complete the rate card information for that period and when ready, click OK. Once a rate has been added for a role, the dates for that period can't be changed but the rate itself can be. Note: The rate is the cost per hour.
To add another date period and associated rate for a role, click on the downward arrow against an existing rate to reveal a sub-menu.
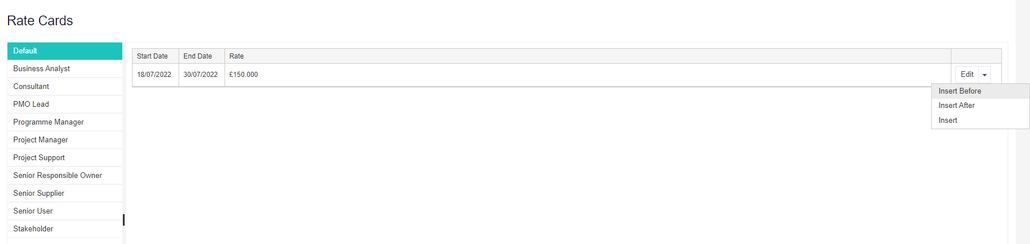
- Insert Before – to add a new rate that abuts the first date of the existing rate.
- Insert After – to add a new rate that abuts the end date of the existing rate.
- Insert – to insert a new date range within the existing rate.
Project Specific Rate Cards
To add a rate card against a specific user within a project, navigate to the project and then against the Team Members control, select the downward arrow next to Add and select Rate Cards.

Select the user from the list of team members and click on the 'Add Period' button on the right-hand side (button will only display when adding a rate to the user for the first time).
A pop-up will appear. Complete the rate card information and when ready, click OK. Once a rate has been added, the dates for that period can't be changed but the rate itself can be. Note: The rate is the cost per hour.

To add another date period and associated rate for that user, click on the downward arrow against an existing rate to reveal a sub-menu.
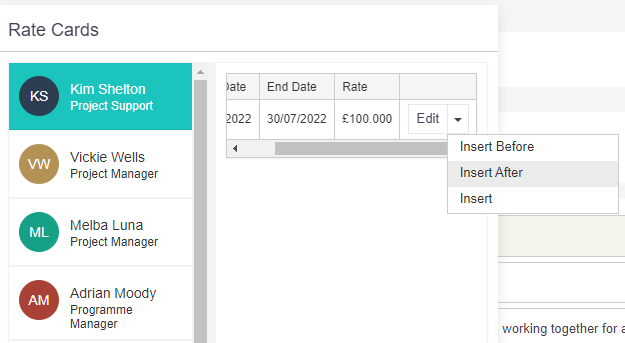
- Insert Before – to add a new rate that abuts the first date of the existing rate.
- Insert After – to add a new rate that abuts the end date of the existing rate.
- Insert – to insert a new date range within the existing rate.
Advice
- You can use both global and project rate cards at the same time. The system will seek the rate in the following order:
- Rate against the user in the specific project
- Rate against the project role
- Rate against the default role
- Approved costs can be viewed via Actions > Timesheet Records within the project. Note: If this option isn't visible, it will need to be added onto the stage configuration in the same way governance reports are.
- If you are using rate cards, the rates must be kept up-to-date. If there is no rate entered, submitted timesheets for that period can't be approved.